
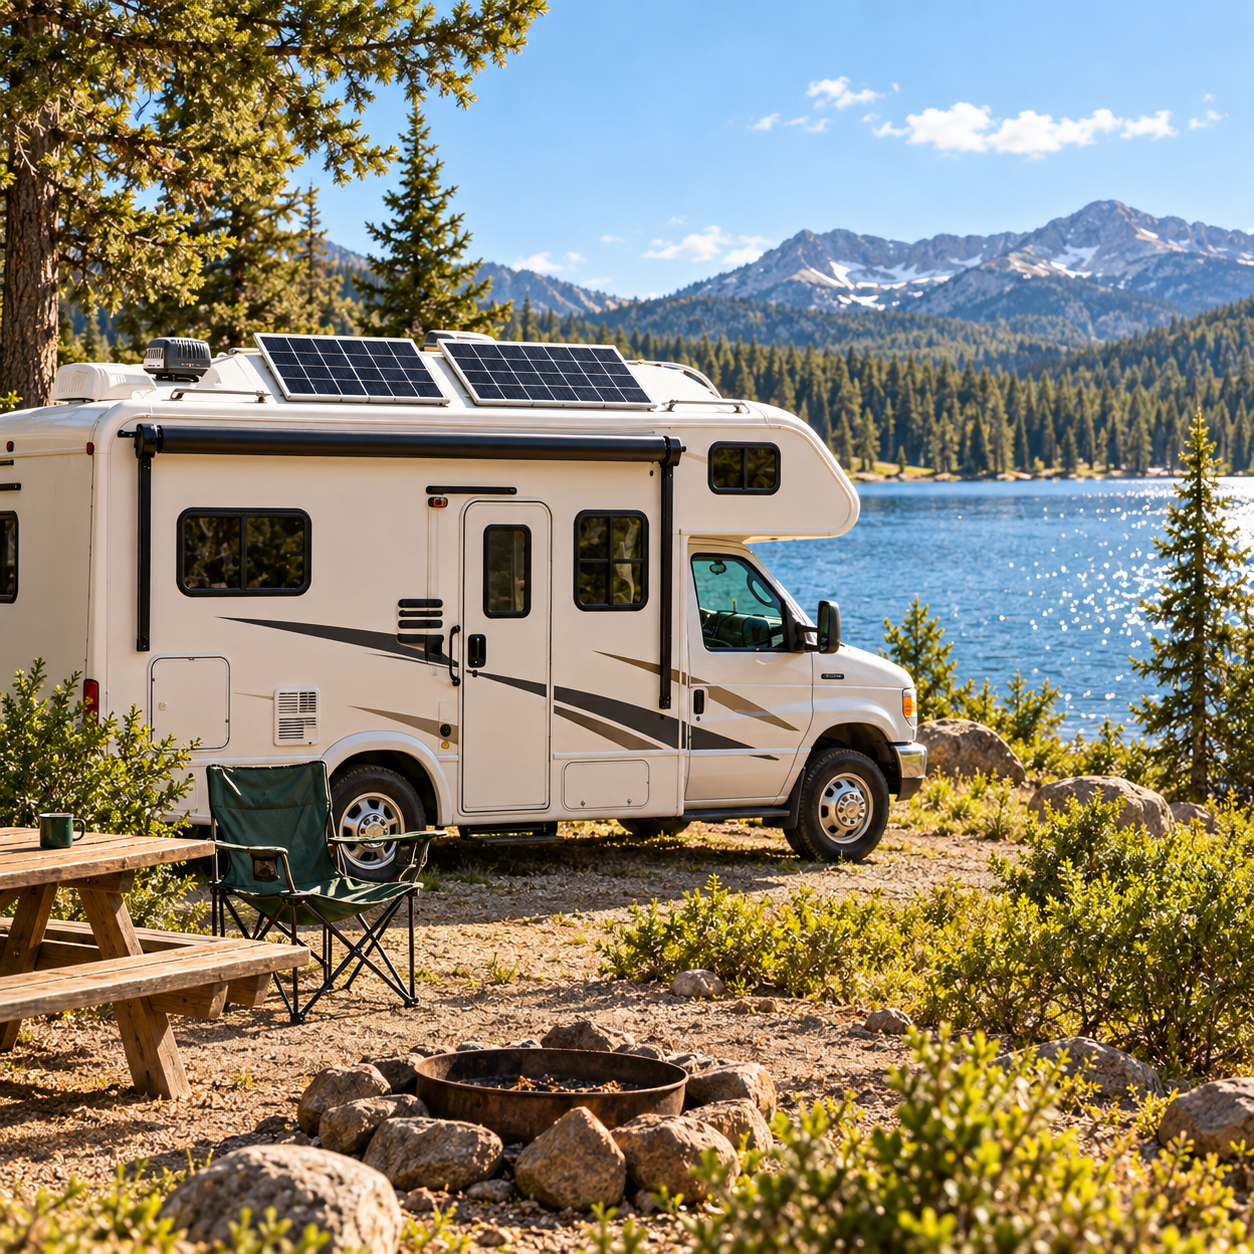
A good day at camp does not need an electrical hookup. With a thoughtfully sized solar system, you can replenish your RV’s house batteries while you enjoy the outdoors. The trick is matching your everyday needs to the sunlight, storage, and space you actually have.
This guide walks through how the pieces work together, a simple way to estimate your needs, and what to check before you buy. Start with your camping routine, then choose the equipment.
Step 1: Understand where the power goes
Solar panels turn sunlight into direct-current (DC) electricity. In a typical RV system, a charge controller manages that electricity to charge the house battery bank. The batteries supply your lights, fans, and other compatible DC equipment—even after sunset. Learn about photovoltaic electricity from the U.S. Department of Energy.
or inverter → AC equipment
An inverter converts battery DC into household-style AC power for appliances that need it. Many North American RVs use 12-volt house systems and 120-volt AC equipment, but other battery voltages exist. Check your RV rather than assuming.
Panels collect. Batteries store. An inverter converts. Adding panels alone does not make every outlet work. Only outlets or circuits connected to a properly installed inverter receive inverter power.
Solar can help with everyday essentials, but electric heating, cooking, and air conditioning can demand much more energy and instantaneous power. Plan those loads individually rather than assuming a small kit will run the whole RV.
Step 2: Make a daily energy budget
Write down what you use on an ordinary camping day and how long each item runs. Watts describe power at a moment in time; watt-hours describe energy used over time.
The following numbers are an illustration, not ratings for your equipment. Read labels, use an appropriate energy meter, or review a battery monitor to build your own list.
| Item | Power | Time | Energy |
|---|---|---|---|
| LED lighting | 12 W | 5 h | 60 Wh |
| Vent fan | 20 W | 6 h | 120 Wh |
| Laptop charging | 60 W | 3 h | 180 Wh |
| Small electronics | 10 W | 4 h | 40 Wh |
| Example total | 400 Wh | ||
This example excludes a refrigerator, furnace blower, water pump, standby loads, and other equipment you may use. Refrigerators and thermostatically controlled devices cycle on and off; a measured 24-hour energy figure is more useful than assuming they run at full power all day.
Account for inverter and charging losses, inverter idle consumption, and a practical reserve. For the worked example below, we will use a 600 Wh daily battery-energy budget. That is a planning assumption, not a universal allowance.
Step 3: Decide how much battery storage you need
Think about the evening hours and the cloudy days between good charging opportunities. More battery capacity can extend your time between charges, but it cannot make up indefinitely for too little incoming energy.
Nominal battery energy (Wh) = nominal volts × amp-hours
Planning usable energy = nominal energy × allowed usable fraction
Use the battery manufacturer’s specifications. Temperature, age, discharge rate, and system limits also affect what you can actually use.
For example, a battery rated at 12.8 V and 100 Ah has 1,280 Wh of nominal energy. If you plan to use 80% of that capacity, your planning allowance is 1,024 Wh. Against a 600 Wh daily budget, that is about 1.7 days with no recharge, before any additional reserve.
For two days at 600 Wh per day, the same 80% assumption gives a nominal storage target of 600 × 2 ÷ 0.8 = 1,500 Wh. Translate that target into a compatible battery bank using the actual product ratings.
Battery chemistry affects weight, cost, charging settings, and usable capacity. Do not treat a lithium battery as an automatic drop-in replacement: verify your converter, solar controller, alternator charging equipment, and battery temperature protections first.
Step 4: Estimate the panels needed to replenish it
A panel’s watt rating is a test-condition rating, not a promise of all-day output. Shade, weather, season, temperature, panel angle, and your parking location all change the harvest.
Peak-sun-hours express a day’s solar energy as equivalent hours of strong sunlight. They are not simply the number of hours between sunrise and sunset. The yield factor is a planning allowance for real-world losses.
Suppose you assume 4 peak-sun-hours and a 0.75 yield factor. A 200 W array would yield an estimated 200 × 4 × 0.75 = 600 Wh per day. With only 2 peak-sun-hours, that estimate falls to 300 Wh. These are examples, not forecasts for your campsite.
Matching an average day leaves little recovery room. If you use 600 Wh and collect 600 Wh, there is no surplus to refill yesterday’s deficit. Allow for recovery charging, seasonal changes, and a backup charging option.
Use location and seasonal solar data when refining your estimate. PVWatts can help you explore solar-production patterns, but its standard model estimates grid-connected PV output; it is not a complete RV battery or off-grid reliability calculator.
Step 5: Choose equipment that works as a system
Roof-mounted or portable panels?
Roof-mounted panels travel in place and avoid daily setup. Portable panels let you adjust their position while the RV stays in shade, but require storage, deployment, and attention to cables and security. Your available roof area and preferred campsites matter as much as panel wattage.
Do the panels need an “RV” label?
The label alone does not establish compatibility. Check dimensions, weight, mounting requirements, environmental suitability, and electrical ratings. A larger panel may be usable if the roof, mounting design, and controller all support it.
Match the controller to the array and battery
Check the controller’s supported battery voltage and chemistry, charge-current limit, maximum PV voltage, and PV current limits. Array open-circuit voltage rises in cold conditions and must remain below the controller limit. Series and parallel arrangements change the array’s voltage and current; total watts alone do not prove compatibility.
MPPT and PWM controllers have different matching requirements. Follow the controller’s sizing guidance rather than assuming either type works with every panel.
Size the inverter for your actual appliances
Check continuous output, starting surge, battery discharge capability, and the associated wiring. Enough stored watt-hours does not guarantee enough power to start a high-demand appliance.
Include the supporting parts
Budget for suitable mounts, protected cable routes, connectors, disconnects, overcurrent protection, and monitoring. A kit may not include every part your particular RV requires.
Step 6: Plan the installation before connecting anything
- Document your existing system. Identify battery chemistry and voltage, converter, inverter, charging sources, and any factory solar wiring. A “solar-ready” connection still needs its ratings and wiring checked.
- Plan the physical layout. Confirm structural mounting points, panel clearance, weather sealing, cable protection, and ventilation requirements with the equipment and RV manufacturers.
- Have the electrical design checked. Cable and protection choices must suit current, cable length, installation conditions, and equipment limits. Do not select a fuse solely by choosing a value above the controller rating.
- Follow the specified commissioning sequence. Verify polarity and settings before energizing. Use the exact controller manual for connection order and the battery manual for charging settings.
- Test and record operation. Confirm charging and load behavior, inspect the installation, and keep the manuals and system diagram with the RV.
For a manufacturer example of fuse limits, array checks, mounting requirements, and connection sequence, see the Victron SmartSolar installation manual. Its model-specific requirements are not a substitute for your equipment’s instructions.
Step 7: Decide whether solar fits your travels
Solar is most useful when you regularly camp without hookups, have access to sunlight, and want to reduce time spent running another charging source. If you usually stay on shore power or park under dense tree cover, a smaller system—or a different upgrade—may serve you better.
Compare the complete installed cost with how you actually camp. Include batteries, wiring, mounting, labor, and any inverter upgrade. The practical benefit may be quieter mornings and fewer charging interruptions rather than a quick financial payback.
Keep a backup plan for extended poor weather. Solar adds flexibility, but available energy still determines what you can run and for how long.
Before you buy: your solar planning checklist
- List or measure your daily energy use, including hidden and seasonal loads.
- Choose how many days of usable storage you want between charges.
- Estimate harvest for the places and seasons you actually travel.
- Check roof space or portable-panel storage and setup needs.
- Confirm panel, controller, battery, and inverter compatibility.
- Budget for installation, protection, monitoring, and backup charging.
Explore equipment for your setup
These products serve different roles. A 200W panel kit does not supply 3000W of continuous solar power; size your array, battery bank, and inverter together.
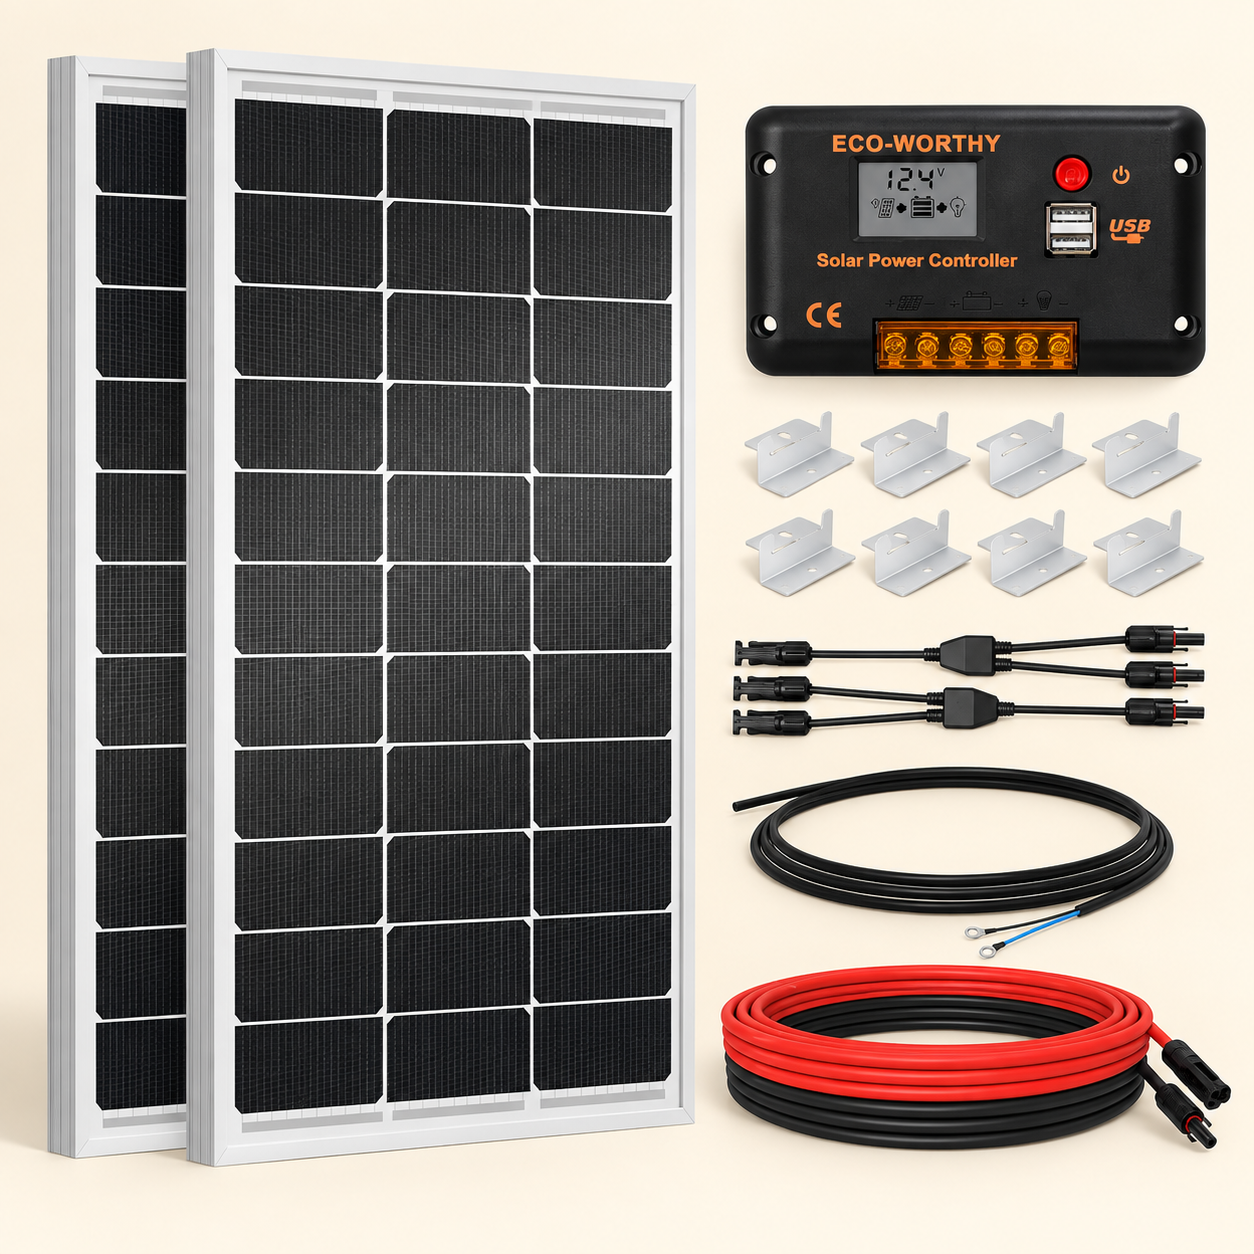
ECO-WORTHY 200W solar panel kit
Explore the panel kit shown here, including a PWM charge controller. Check the selected kit’s contents, battery compatibility, and installation requirements on the listing.
View solar kit on Amazon ↗#ad · Affiliate link supplied by Roam Ready Finds. Check current price, specifications, and included parts on Amazon. Image is illustrative.
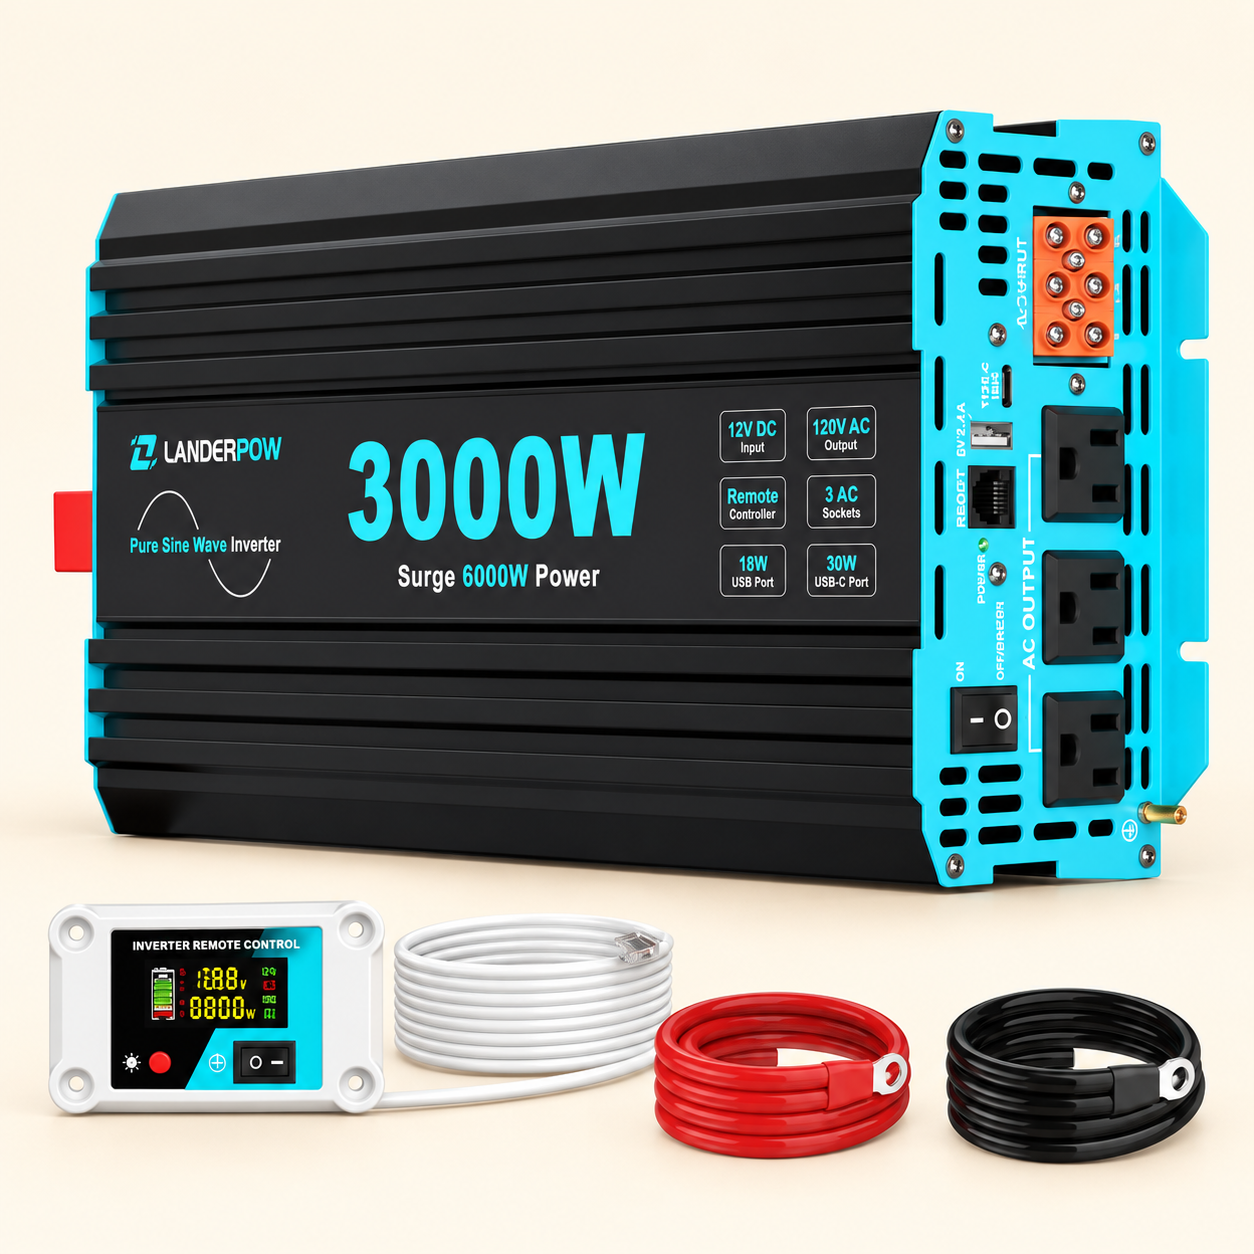
LANDERPOW 3000W pure sine wave inverter
Explore this 12V DC to 120V AC inverter. Match its power requirements to your battery bank and have cable sizing and circuit protection checked for your installation.
View inverter on Amazon ↗#ad · Affiliate link supplied by Roam Ready Finds. Check current price, specifications, and included parts on Amazon. Image is illustrative.
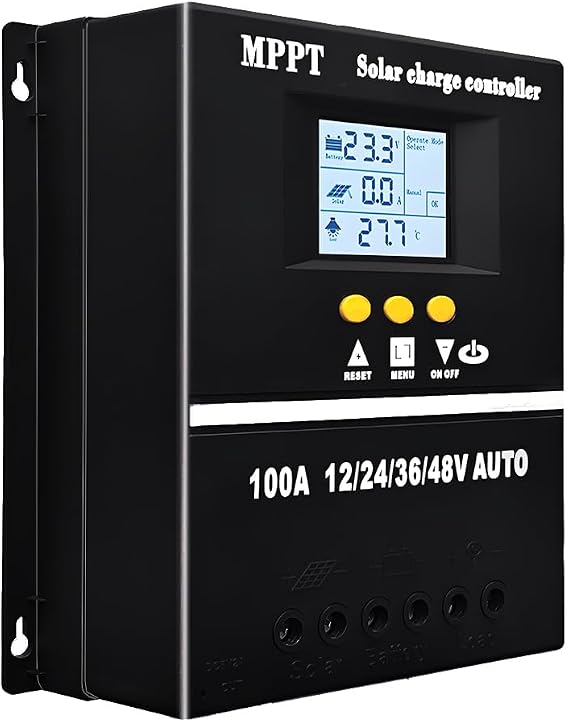
SOGTICPS SY10048 solar charge controller
Explore this controller, listed as a 100A MPPT model with an LCD display, dual USB ports, and settings for several battery types. A charge controller manages charging between your solar panels and battery bank.
Before choosing it, confirm the selected model’s PV input limits, supported system voltage, and charging settings against your panels and battery manufacturer’s requirements. Review the manual before installation; the advertised amperage alone does not establish compatibility.
View charge controller on Amazon ↗#ad · Affiliate link supplied by Roam Ready Finds. Check current price, specifications, and included parts on Amazon. Product image from the linked listing.
References & further reading
- U.S. Department of Energy: photovoltaic technology basics
- U.S. Department of Energy: solar radiation basics
- PVWatts: model purpose and inputs
- Victron: example controller installation requirements
Worked figures are illustrative planning assumptions. Confirm specifications and installation requirements for your own equipment.