
This independent, plain-language adaptation was prepared by Roam Ready Finds from Starlink’s Mini Setup Guide. It is not an official Starlink publication. Read Starlink’s original guide (PDF).
A clear patch of sky, a suitable power source, and the Starlink app are the starting points for setting up your Mini. This walkthrough covers the basic kickstand setup first, followed by Ethernet, optional mounts, and checks to try if you cannot get online.
Before your trip: Have the app installed and check your account, service, and intended use with Starlink. This is a hardware setup guide; buying a kit does not by itself establish service availability or permission for use while moving.
Step 1: Check the parts in your kit
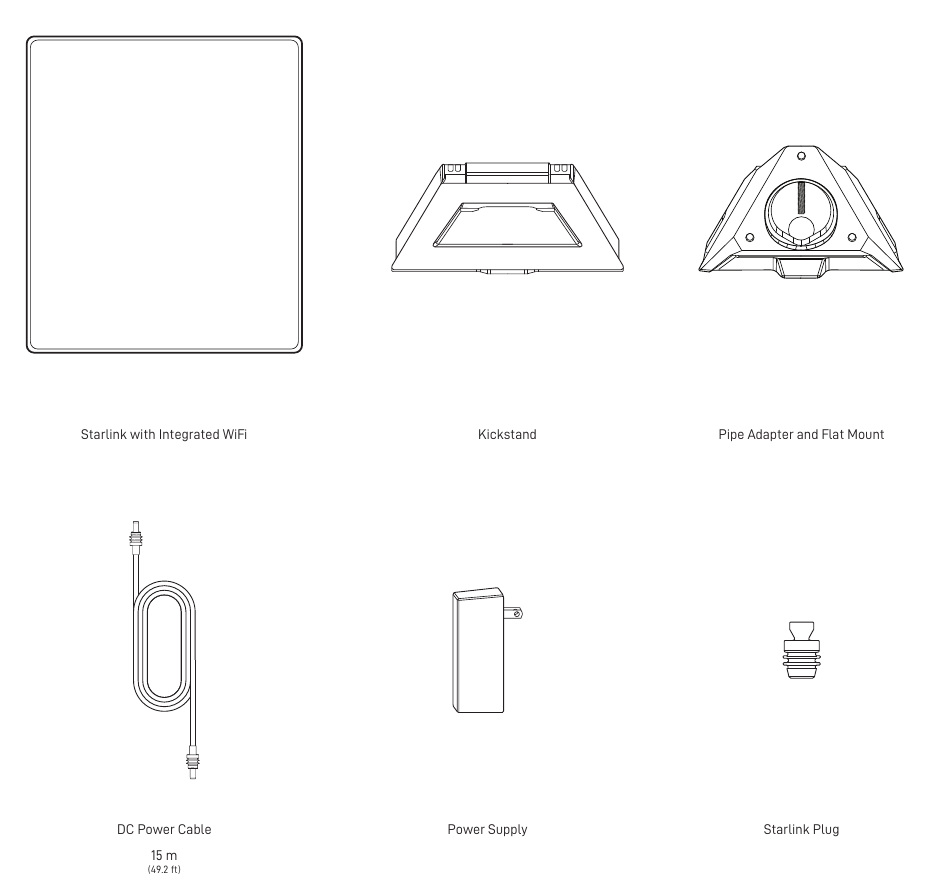
The supplied guide shows the Mini with integrated Wi-Fi, a kickstand, a combined pipe adapter and flat mount, a 15 m (49.2 ft) DC power cable, a power supply, and the protective Starlink plug.
Lay out the parts and inspect them before starting. Check the included documentation if your kit differs from the version pictured.
Step 2: Choose a spot with a clear view of the sky
Install the Starlink app using the QR code on your packaging or the official app link at setup.starlink.com. Use its obstruction-checking tool at the location where you intend to place the Mini.
Look beyond the patch of sky directly above the unit. Trees, poles, nearby buildings, and your RV’s roof or awning can block the satellite path and interrupt service. Let the app help you compare possible locations.
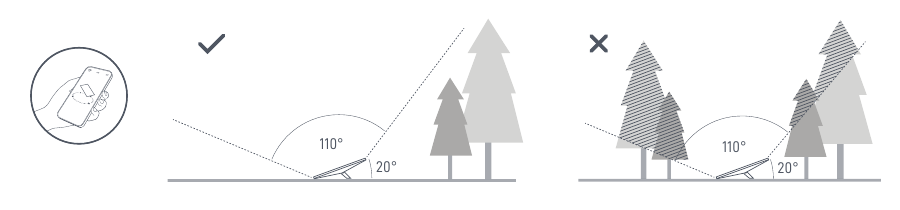
If no suitable ground-level location is available, consider an appropriate elevated mount. Check the mounting guidance below before attaching anything to a roof, wall, or pole.
Step 3: Set up the kickstand and connect power
- Open the kickstand and place the Mini on a stable surface at your chosen location.
- Insert the supplied DC power cable into the Mini. Seat the connector fully so its face sits flush with the surrounding surface.
- Route the other end to the supplied power supply, then connect the supply to a suitable power outlet.
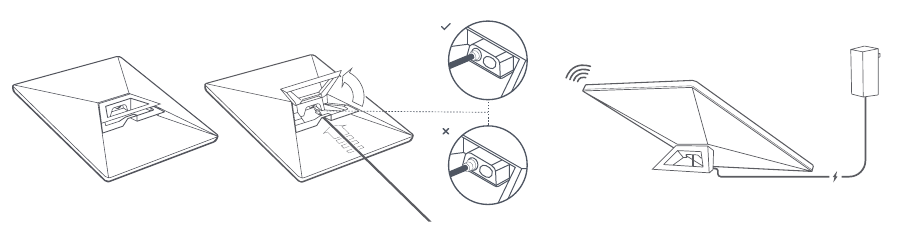
Keep the connections distinct: The DC cable supplies power. The optional RJ45 Ethernet connection described below is a separate network connection.
Step 4: Join Wi-Fi and follow the alignment prompt
- On your phone or other device, open Wi-Fi settings and select STARLINK for a new, unconfigured unit.
- Open the Starlink app to review connection status and customize available network settings.
- If the app displays an alignment alert, open it and use the alignment tool to rotate the Mini as directed.
- Check the app again after adjustment. Joining the local Wi-Fi network alone does not confirm that internet service is online.
For an already configured kit, use its saved network name and credentials. Follow current app prompts if their wording differs from the supplied guide.
Optional: Connect equipment with Ethernet
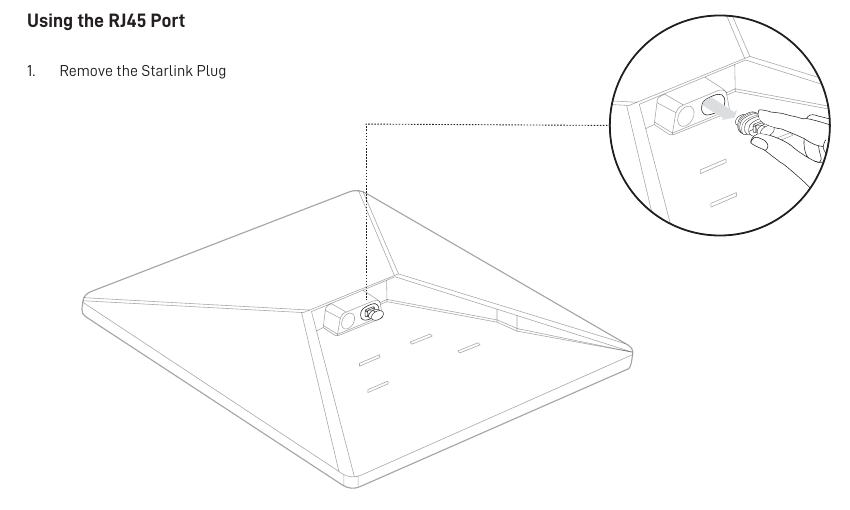
To use the RJ45 network port, remove its protective Starlink plug and insert a compatible Ethernet cable. Connect the other end to the wired mesh or third-party network equipment you intend to use.
Optional: Use the pipe adapter or flat mount
A permanent installation requires more planning than setting the Mini on its kickstand. Confirm that the supporting structure and attachment method suit the location before beginning.
Pipe adapter: fit, align, then secure
- Press the kickstand’s release tab and slide the kickstand away from its attachment point.
- Remove the hex key stored underneath the mount.
- Feed the power cable through the mount’s opening and out the front. Seat the power plug fully in the Mini and fit the mount as shown in Starlink’s illustrations.
- Loosen the attachment screw, slide the mount onto the pipe, and temporarily tighten it enough to stabilize the unit. Connect the supplied power system.
- Use the app’s alignment tool when prompted. Once aligned, use the hex key to tighten the attachment screw until hand-tight and verify the unit is firmly attached.
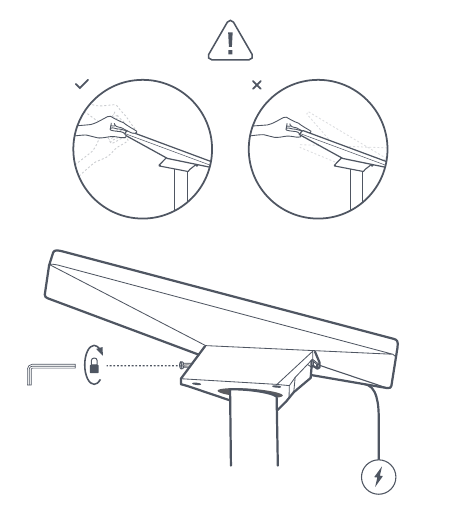
Flat mount: prepare the surface and lock the Mini in place
- Use the mount to mark its three mounting holes on the selected surface.
- Choose fasteners and pilot holes appropriate for the surface and hardware. Fasteners are not included. The guide recommends nominal 6 mm (1/4 in) screws or bolts and at least 0.5 in of mounting material when using wood screws.
- Secure the mount, route the power cable through its opening, and fully seat the connector.
- Slide the Mini into the mount until it clicks. Verify that it has latched securely.
- To remove the unit later, press the mount’s release tab while sliding the Mini away, following Starlink’s diagram.
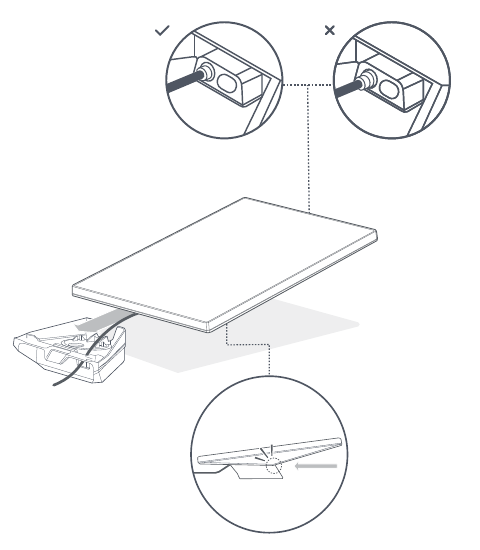
The supplied PDF has inconsistent drill-size labels and refers to “Ethernet” in one flat-mount step despite showing the power connector. Confirm the required drill size and connector against your hardware and Starlink’s current instructions rather than relying on those labels alone.
Not online yet? Work through these checks
- Start with the app. Look for obstruction reports, service outages, and other alerts.
- Check the rear status light. Use the guide below to understand the power or reset state.
- Inspect the connections. Confirm that plugs are seated and the cables and hardware are undamaged.
- Restart the unit. Disconnect it from power, then reconnect it and recheck the app.
- If needed, review the factory-reset procedure. On the Mini described in this guide, press the rear reset control firmly until it clicks and hold for 3 seconds. The light flashes quickly and then goes out as the unit restarts. A factory reset clears local configuration, so be prepared to set up Wi-Fi again.
- Still stuck? Contact Starlink through the app or Starlink Support.
- Slow flashing
- The unit has power.
- No light
- The guide identifies this as no power to the Mini.
- Fast flashing
- During the reset procedure, the light flashes rapidly and then goes out as the Mini reboots.
Before you settle in at camp
- Check the sky view with the app at your actual campsite.
- Make sure power connections are seated and the unit is stable.
- Complete any alignment prompts and confirm online status.
- Review weather protection if you added Ethernet or a mount.
- Keep the original guide and your account details available for reference.
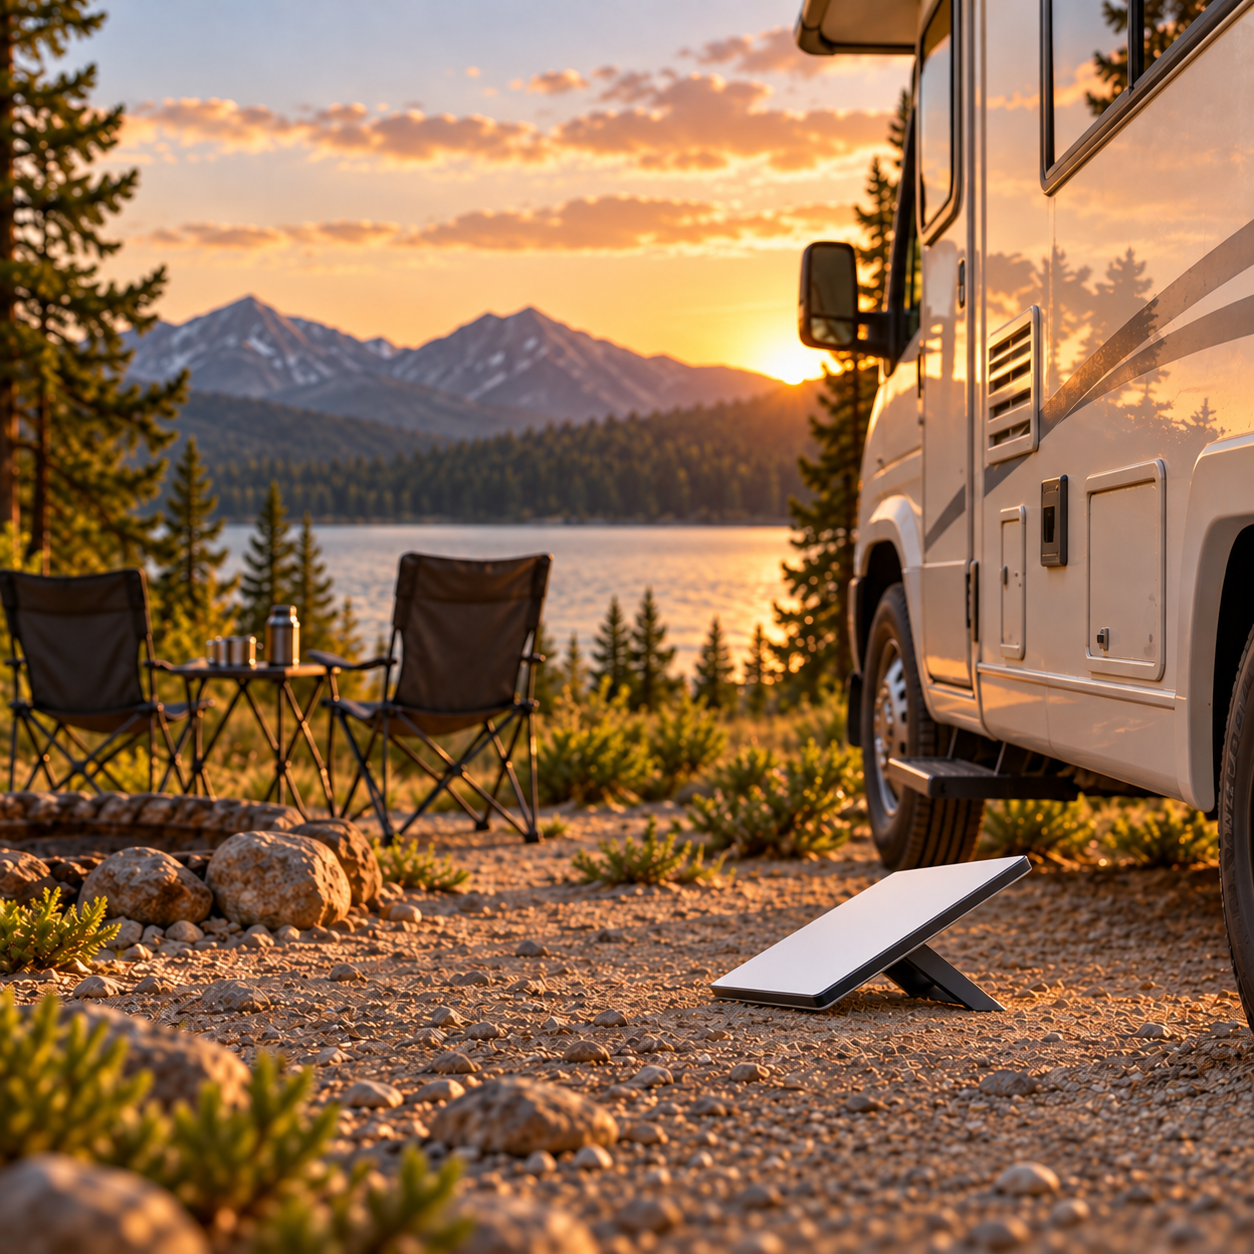
Explore the Starlink Mini kit
Check the seller’s listing for the exact model, included parts, current price, and purchase terms. Confirm service availability and account requirements with Starlink before ordering.
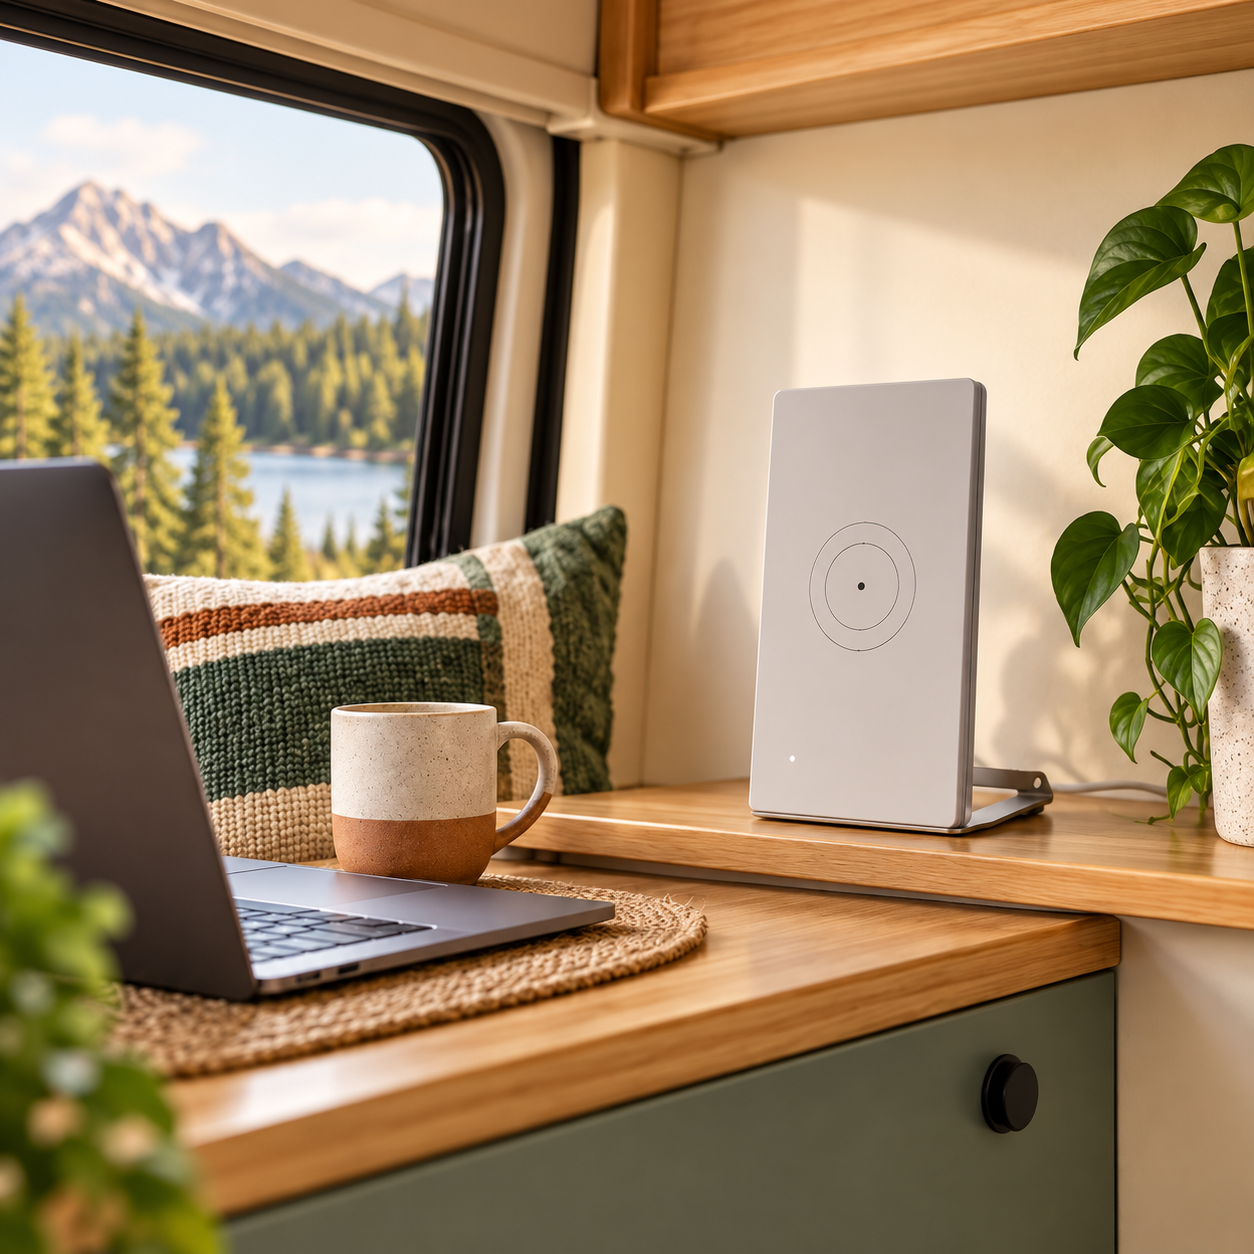
View Mini kit on Amazon ↗#ad · Affiliate link supplied by Roam Ready Finds. AI-generated campsite illustration; check the listing for actual product details. Starlink did not write or endorse this affiliate offer.
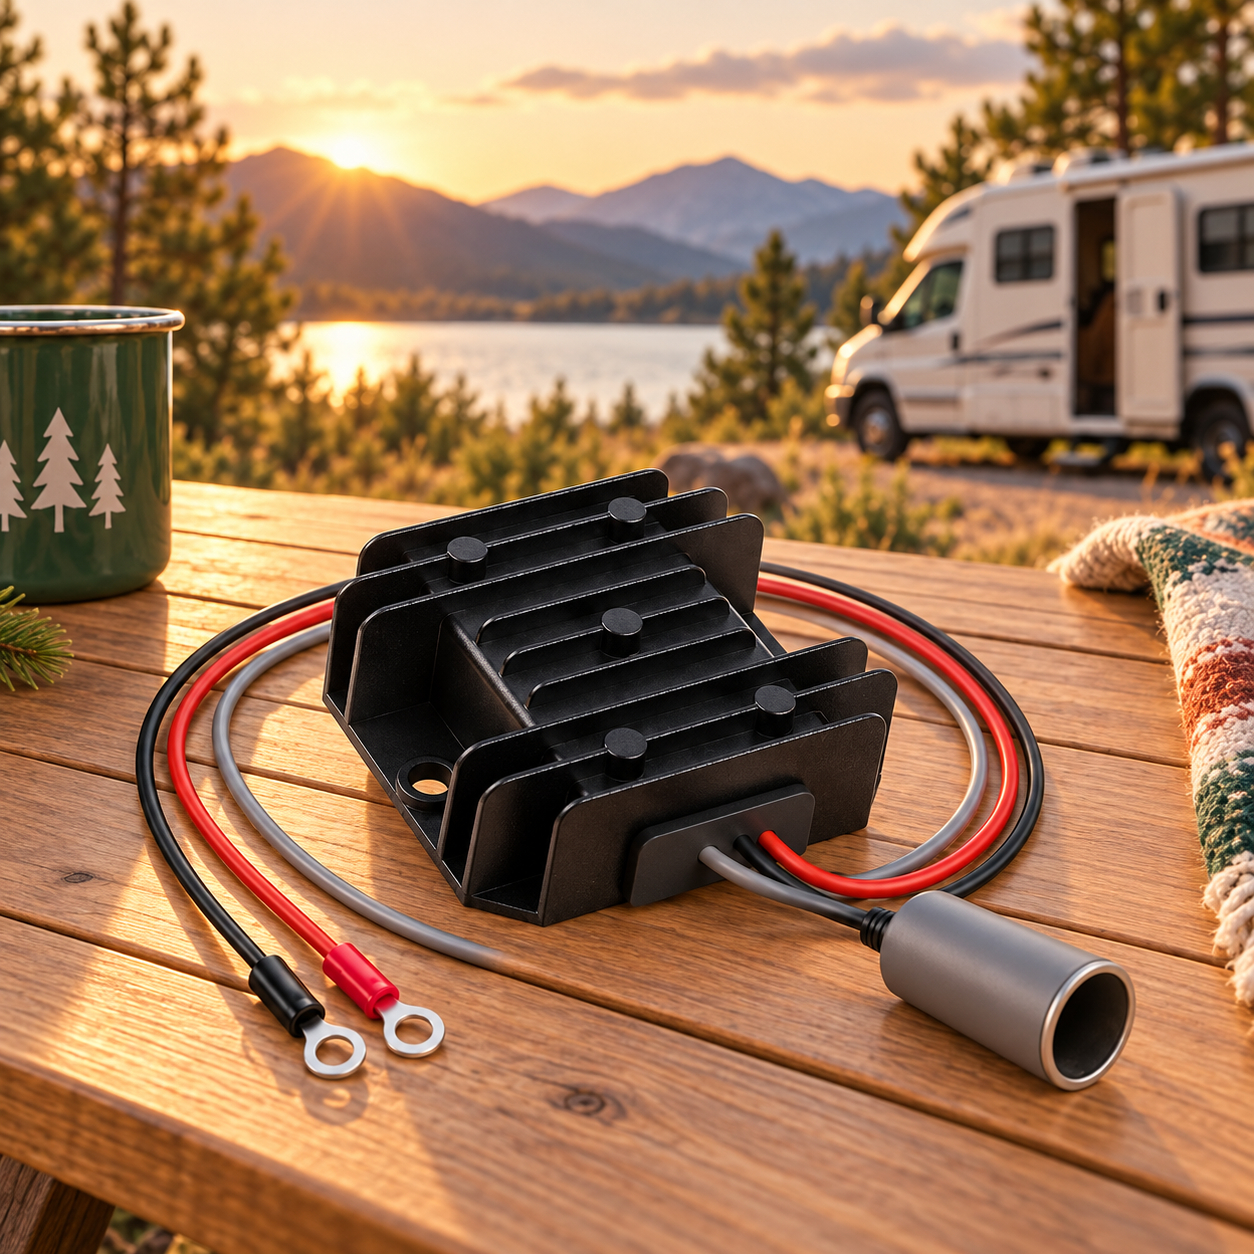
Explore a power adapter for your RV setup
Review this adapter for your planned Mini power setup. Confirm the exact input and output ratings, connectors, and required cables against your equipment before ordering.
View power adapter on Amazon ↗#ad · Affiliate link supplied by Roam Ready Finds. AI-generated illustration based on the reference pin. Check the listing for actual specifications, included parts, and compatibility.
Mini Mesh Wi-Fi Router
Listed as a dual-band, mesh-ready router compatible with STARLINK Gen 2, Gen 3, Gen 4, and Mini systems, with support for 128+ devices. Confirm compatibility and any required cables or adapters with the seller before ordering.
View Mini Mesh Router on Amazon ↗#ad · Affiliate link supplied by Roam Ready Finds. AI-generated illustration based on the reference pin. Check the listing for current price, actual specifications, and supported systems.
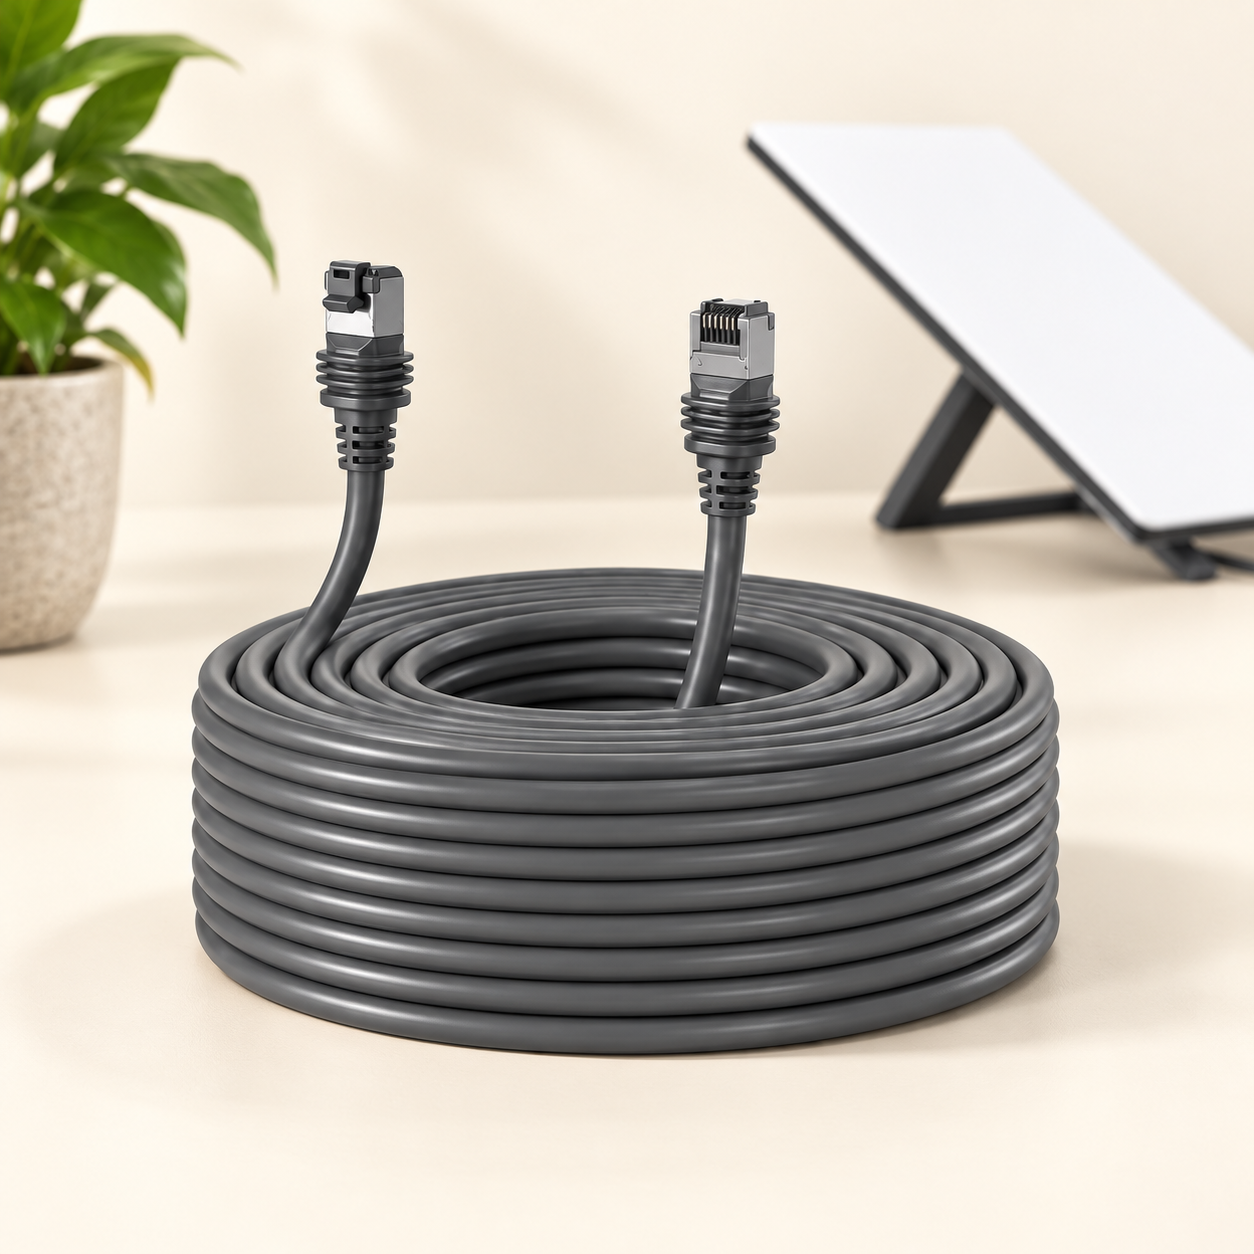
Ethernet replacement cable for Starlink Standard & Mini
The seller lists this Ethernet cable as compatible with Starlink Standard Gen 3 / 4 and Mini systems. The listing describes Cat6 construction, 24 AWG copper conductors, shielding, and a PVC jacket for indoor and outdoor use.
View replacement cable on Amazon ↗#ad · Affiliate link supplied by Roam Ready Finds. AI-generated illustration based on the reference pin. Check the listing for actual specifications, available lengths, and compatibility.
Source, authorship & image credits
Original author: Starlink. Technical instructions and illustrations are sourced from the supplied Mini Setup Guide. The text has been rewritten and organized by Roam Ready Finds for this independent tutorial. Illustration rights remain with their respective owner.
Read the original Starlink Mini Setup Guide (PDF) · Get official Starlink support
For your specific kit, follow the latest manufacturer instructions and app prompts. This page does not replace Starlink’s full installation conditions.